Dear technicians: Since January of 2008 it has been my privilege to be able to write a monthly series (Small Shop, Big Results) for the Piano Technicians Journal, the official publication of the Piano Technicians Guild. The Guild is a wonderful organization, full of technicians dedicated to their craft who have the best interest of both their own clients, and of fellow technicians at heart.  Learn about the Guild at www.ptg.org.

The Journal is a great magazine which has been published since January of 1958.  I personally own and treasure every copy of the magazine from that premier issue, and have enjoyed every article published. 

What follows are the original drafts of the segments of the "Small Shop, Big Results" series which I submitted to the editors of the Journal for publication. (Differences in text do occur between the draft copy and the finished copy as they appear in the magazine. Occasionally, photos in the original draft are not used in the magazine for reasons of space.) 

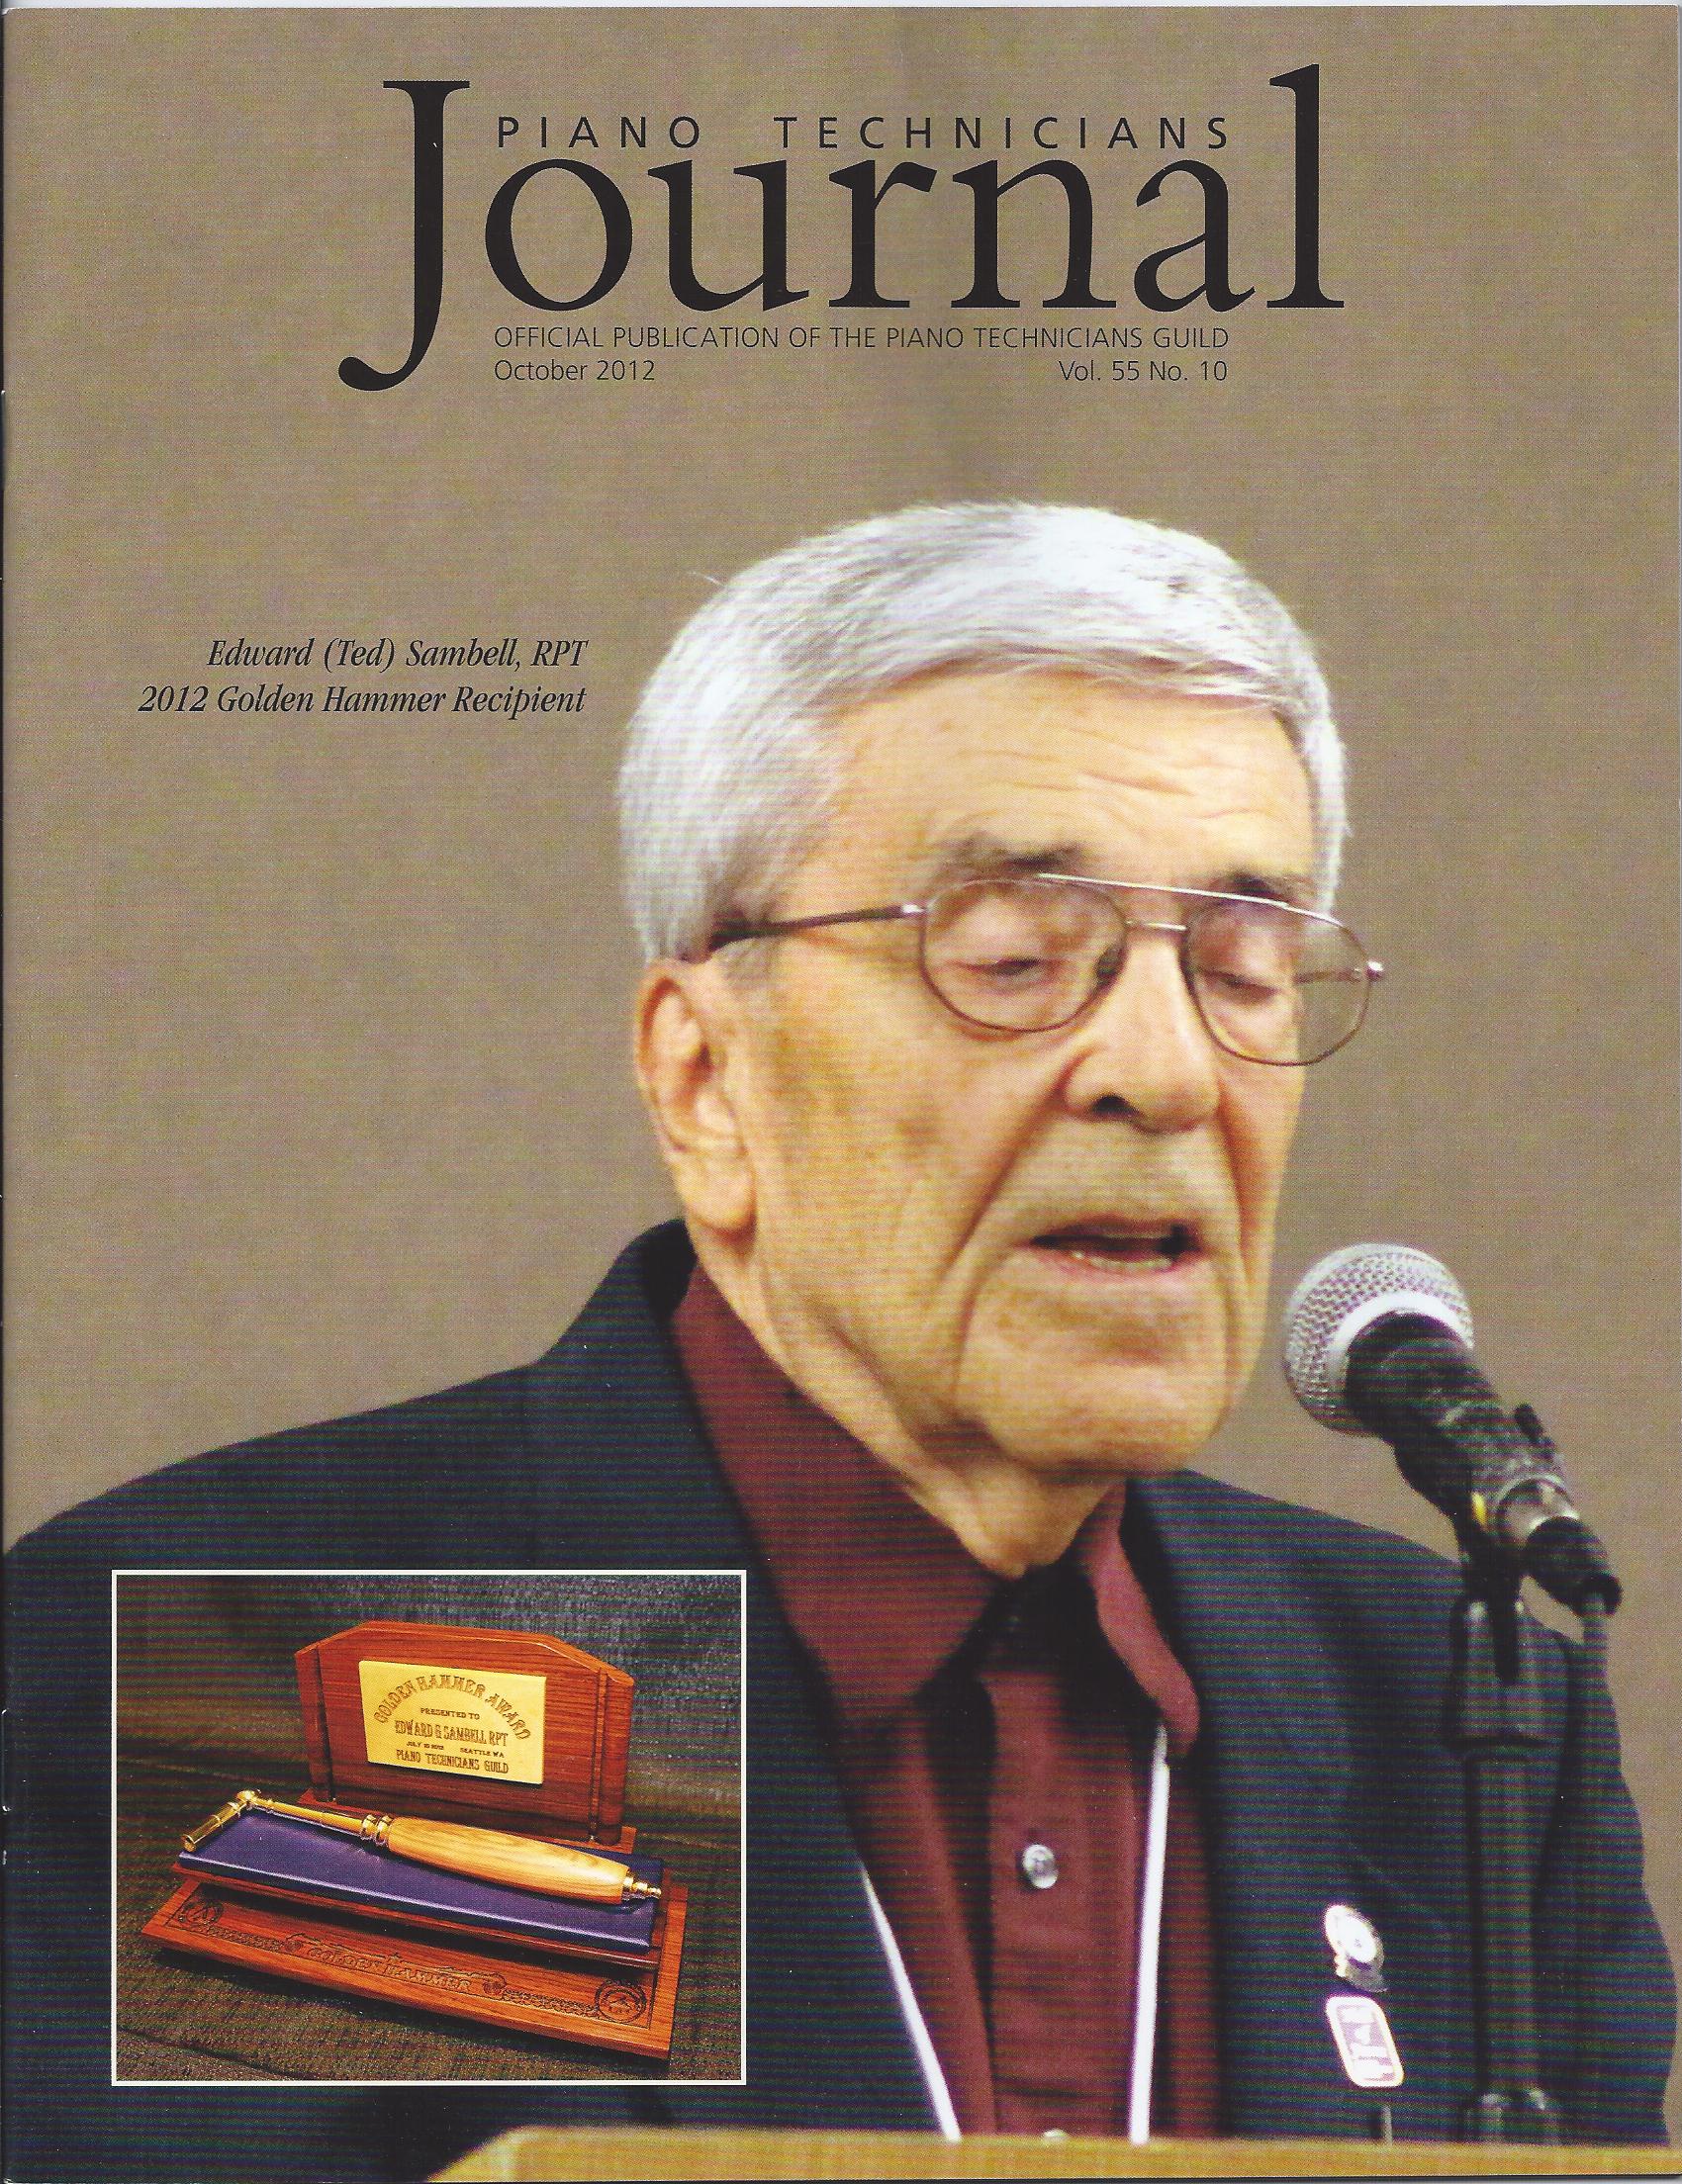
The cover photos used for reference are copyrighted by the Journal and are used here with permission of the PTG. 


Installment # 1 of the "Small Shop, Big Results" series appeared in the January, 2008 issue of the Piano Technicians Journal. January's topic: "Piano Parts Trolley."

In the words of the editor, " This article begins a series on the operation of a small shop for rebuilding pianos. The series will contain many useful ideas, but we believe it will be especially helpful to piano technicians who are new to rebuilding. 

This series of articles is dedicated to the memory of the author's father, Paul Behm, who tuned and repaired pianos until he was 88."


Installment # 2 of the "Small Shop, Big Results" series appeared in the February, 2008 issue of the Piano Technicians Journal. February's topic: "Removing the Cast Iron Plate: Part 1."

This beginning segment outlines the basic reasons why the cast iron plate of a piano would need to be removed in the first place, then goes on to explains the initial steps one would need to take to safely remove the plate.  


Installment # 3 of the "Small Shop, Big Results" series appeared in the March, 2008 issue of the Piano Technicians Journal. March's topic: "Removing the Cast Iron Plate: Part 2."

The middle segment of this article details the methods for safely removing the strings and pins in preparation for removing the pin. Creation of the stringing scale, and packaging bass strings for sending off for duplication are explained.


Installment # 4 of the "Small Shop, Big Results" series appeared in the April, 2008 issue of the Piano Technicians Journal.  April's topic: "Removing the Cast Iron Plate: Part 3."

The last segment of this article describes the final steps necessary to safely remove the cast iron plate from a project piano.


Installment # 5 of the "Small Shop, Big Results" series appeared in the May, 2008 issue of the Piano Technicians Journal.  May's topic: "Installing Pinblock Panels in an Upright Piano: Part 1."

The first segment of this article describes the initial preparation of the piano for routering out the old pin fields. 


Installment # 6 of the "Small Shop, Big Results" series appeared in the June, 2008 issue of the Piano Technicians Journal.  June's topic: "Installing Pinblock Panels in an Upright Piano: Part 2."

The second segment of this article tackles the woodworking end of the project up to the point where the soundboard is nearly ready to refinish.


Installment # 7 of the "Small Shop, Big Results" series appeared in the July, 2008 issue of the Piano Technicians Journal.  July's topic: "Installing Pinblock Panels in an Upright Piano: Part 3."

The final segment of this article concludes with drilling the new pin holes in the replacement panels.


Installment # 8 of the "Small Shop, Big Results" series appeared in the August, 2008 issue of the Piano Technicians Journal.  August's topic: "Preparation for a Beautiful Brushed-On Varnish Finish: Part 1."

The beginning segment of this article outlines a practical procedure for tearing down your project piano in preparation for stripping the case. 


Installment # 9 of the "Small Shop, Big Results" series appeared in the November, 2008 issue of the Piano Technicians Journal.  November's topic: "Preparation for a Beautiful Brushed-On Varnish Finish: Part 2."

The second segment of this article describes methods for stripping the case.


Installment # 10 of the "Small Shop, Big Results" series appeared in the December, 2008 issue of the Piano Technicians Journal.  December's topic: "Preparation for a Beautiful Brushed-On Varnish Finish: Part 3." 

The third segment of this article deals with the type of veneer work involved with the refinishing of a piano.


Installment # 11 of the "Small Shop, Big Results" series appeared in the January, 2009 issue of the Piano Technicians Journal.  January's topic: "Preparation for a Beautiful Brushed-On Varnish Finish: Part 4."

The fourth segment of this article continues the discussion of veneer work involved with the refinishing of a piano. 


 Installment # 12 of the "Small Shop, Big Results" series appeared in the February, 2009 issue of the Piano Technicians Journal.  February's topic: "Preparation for a Beautiful Brushed-On Varnish Finish: Part 5."

The fifth segment of this article covers the topic of lacquer stick work as it used on raw wood in the refinishing process.

Note: This is my first cover photo for the Journal- we melt various shades of lacquer stick on a flat iron to get those 'in-between' colors. The inspiration for this technique came from my kids, who one day decided to melt a batch of different color crayons® on their mother's good iron! A memorable day!

Installment # 13 of the "Small Shop, Big Results" series appeared in the March, 2009 issue of the Piano Technicians Journal.  March's topic: "Preparation for a Beautiful Brushed-On Varnish Finish: Part 6." 

The sixth segment of this article discuss the final sanding process and staining the raw wood to the owner's specifications. Here's where you can really begin to see the light at the end of the tunnel as far as the refinishing of the piano goes. 

Installment # 14 of the "Small Shop, Big Results" series appeared in the April, 2009 issue of the Piano Technicians Journal.  April's topic: "Preparation for a Beautiful Brushed-On Varnish Finish: Part 7." 

The seventh segment of this article explains the procedures we use for prepping the shop. I also lay the groundwork for an upcoming experiment on the effectiveness of 6 different commonly used finishes - the basis for the next segment of the series.  

Installment # 15 of the "Small Shop, Big Results" series appeared in the May, 2009 issue of the Piano Technicians Journal.  May's topic: "A Field Test of Brushed-On Finishes."  

This month's article is meant to accompany the "Brushed-On Varnish" series, but is an article in its own right, comparing shellac, lacquer, spar urethan, polycrylic, spar varnish and polyurethane..

Note: This is my second cover photo (so to speak) for the Journal. The cover is a montage of the photos used in the segment for the month - it was put together without my knowledge and took me by surprise when it came out.      

Installment # 16 of the "Small Shop, Big Results" series appeared in the June, 2009 issue of the Piano Technicians Journal.  June's topic: "Application of a Beautiful Brushed-On Finish." 

The final segment of this article describes the exact process we use to transform the piano into a beautiful vintage instrument with the proper application of three coats of polyurethane. Done correctly, this will be an extremely high quality finish that will rival any sprayed-on finish.   


Installment # 17 of the "Small Shop, Big Results" series appeared in the July, 2009 issue of the Piano Technicians Journal.  July's topic: "Simple Grand Pinblock Replacement, Part 1: Initial Measurement."

The first segment of this article describes the method of rough cutting a new pinblock from your inventory of pinblock stock to closely match the fit of the old block to the plate.


Installment # 18 of the "Small Shop, Big Results" series appeared in the August, 2009 issue of the Piano Technicians Journal.  August's topic: "Simple Grand Pinblock Replacement, Part 2: Cutting." 

The second segment of this article explains how to accurately cut your new pinblock on the bandsaw to closely fit the flange on the cast iron plate.


Installment # 19 of the "Small Shop, Big Results" series appeared in the September, 2009 issue of the Piano Technicians Journal.  September's topic: "Simple Grand Pinblock Replacement, Part 3: Fitting."

The third segment of this article describes how to use a grinder to hand-fit your newly cut pinblock to fit the flange on the cast iron plate like a well made glove.


Installment # 20 of the "Small Shop, Big Results" series appeared in the November, 2009 issue of the Piano Technicians Journal.  November's topic: "Simple Grand Pinblock Replacement, Part 4: Drilling and Reinstallation." 

The fourth segment covers the technique for marking and drilling your new pinblock and for successfully reinstalling the plate and pinblock back in the piano.


Installment # 21 of the "Small Shop, Big Results" series appeared in the December, 2009 issue of the Piano Technicians Journal.  December's topic: "Simple Grand Pinblock Replacement, Part 5: A Final Twist."

The last segment describes a method for matching a new pinblock to a plate with a warp from side to side.  


 Installment # 22 of the "Small Shop, Big Results" series appeared in the January, 2010 issue of the Piano Technicians Journal.  January's topic"Shop Building on the Cheap." 

In this article I trace the history of my own adventure in shop building. Working on a tight budget, I managed to construct the shop I had dreamed about - but not without overcoming various pitfalls along the way. 

Installment # 23 of the "Small Shop, Big Results" series appeared in the March, 2010 issue of the Piano Technicians Journal.  March's topic: "In-House Keytop Replacement (With that Outsourced Look), Part 1." 

The first part of this series examines methods of removing the old keytops from a set to be recovered and preparing the surface of the keystick for the new set of tops.

Note: This is my third cover photo for the Journal, taken of a really desperate original set of ivory - the type for which ivory restoration is not a viable option and replacement with a new set of plastic tops is a huge improvement.


Installment # 24 of the "Small Shop, Big Results" series appeared in the April, 2010 issue of the Piano Technicians Journal.  April's topic: "In-House Keytop Replacement (With that Outsourced Look), Part 2."

The second part of this series discusses one procedure for gluing on the new keytops - using a careful application of contact cement. Done correctly, this creates a permanent bond with a quick set up time to allow immediate filing work to be done.  

Installment # 25 of the "Small Shop, Big Results" series appeared in the May, 2010 issue of the Piano Technicians Journal.  May's topic: "In-House Keytop Replacement (With that Outsourced Look), Part 3."

The third and last part of this series describes procedures for hand filing your new set of keytops for a professionally done look. 

Note: This is my fourth cover photo for the Journal, showing the before and after shot of the same set of keys. I really liked the way the photo editor (Clint Sears) inset the cover from the March issue to show the contrast.


Installment # 26 of the "Small Shop, Big Results" series appeared in the June, 2010 issue of the Piano Technicians Journal.  June's topic: "Refinishing Sharps, Part 1."

The first part of this series describes an easy method for stripping the old lacquer from ebony sharps in preparation for refinishing.  


Installment # 27 of the "Small Shop, Big Results" series appeared in the July, 2010 issue of the Piano Technicians Journal.  July's topic: "Refinishing Sharps, Part 2."

The second part of this series focuses on the issue of deciding whether a set of original sharps is worth refinishing, or whether it would be better to replace with new plastic or ebony. The difference in quality of original sharps is explained.

 Installment # 28 of the "Small Shop, Big Results" series appeared in the August, 2010 issue of the Piano Technicians Journal.  August's topic: "Refinishing Sharps, Part 3: Concerning the Nature of Ebony."

Being intrigued by the nature of ebony wood, I wrote a segment focusing on the differences between ebony and lesser woods - a fun article to research and write! 

Note: This is my fifth cover photo for the Journal with a shot of a glass of cool, lemon water and ebony cubes - inspired by an experiment conducted in the article.


Installment # 29 of the "Small Shop, Big Results" series appeared in the September, 2010 issue of the Piano Technicians Journal.  September's topic: "Refinishing Sharps, Part 4: Testing, testing. One, two, three. Testing."

In this final segment of the series, I put a variety of suggested finishing methods to the test. The results surprised me, and I'm sure most other technicians.

 Installment # 30 of the "Small Shop, Big Results" series appeared in the November, 2010 issue of the Piano Technicians Journal.  November's topic: "Rx for Mice - Pulling Out all the Stops! Part 1: Assessing the Damage."

Part one of this series shows the beginning photos of a piano which had been infested by legions of mice while the piano was being stored for more than a decade in a factory producing agricultural products. The hazards of hantavirus are also brought to light in this segment.


Installment # 31 of the "Small Shop, Big Results" series appeared in the December, 2010 issue of the Piano Technicians Journal.  December's topic: "Rx for Mice - Pulling Out all the Stops! Part 2: Heavy-duty Cleanup - the Keybed."

The second part of this series tackles the problem of eliminating the horrendous stench left behind in our project piano by generations of factory mice. Not a job for the weak of spirit!   


Installment # 32 of the "Small Shop, Big Results" series appeared in the January, 2011 issue of the Piano Technicians Journal.  January's topic: "Rx for Mice - Pulling Out all the Stops! Part 3: Restoring the Keyframe (In for a Penny, In for a Pound!"

Part 3 of this series describes measures taken to repair damaged balance rail and front rails of the keyframe to the project piano.


Installment # 33 of the "Small Shop, Big Results" series appeared in the February, 2011 issue of the Piano Technicians Journal.  February's topic: "Rx for Mice - Pulling Out all the Stops! Part 4: Finishing and Installing the Keyframe."

The final installment of this series wraps up the work done to the mouse damaged keyframe. Reassembly of the frame parts, installation of new front and center rail pins and total refelting are dealt with in this segment.  


Installment # 34 of the "Small Shop, Big Results" series appeared in the March, 2011 issue of the Piano Technicians Journal.  March's topic: "Pinblock Panel Installation in Grand Pianos, Using Paper Patterns: Part 1."

The first part of this series describes a situation in which routering out the pin fields of a grand pinblock (without removing it from the piano) is a reasonable alternative to the more traditional total replacement of the pinblock.

Installment # 35 of the "Small Shop, Big Results" series appeared in the April, 2011 issue of the Piano Technicians Journal.  April's topic: "Pinblock Panel Installation in Grand Pianos, Using Paper Patterns: Part 2."

Part two of this series gives details of the process of using three different routers for cutting out the old pinfields of the pinblock without removing the block from the piano. 

Note: This is my sixth cover photo for the Journal shot with my miniature camera set on 10 second delay and placed inside the routered-out pinblock.


Installment # 36 of the "Small Shop, Big Results" series appeared in the May, 2011 issue of the Piano Technicians Journal.  May's topic: "Pinblock Panel Installation in Grand Pianos, Using Paper Patterns: Part 3."

Part three of this series explains the procedures for cutting and hand fitting the pinblock panels to the routered-out sections of the pinfield of the old block. The segment also covers the method for drilling the new panels and installing them in the cavity which has been produced.


Installment # 37 of the "Small Shop, Big Results" series appeared in the June, 2011 issue of the Piano Technicians Journal.  June's topic: "Pinblock Panel Installation in Grand Pianos, Using Paper Patterns: Part 4."

The fourth segment of this series explains the technique for covering the panels with maple veneer for a finished look, blending the panels with the surrounding old pinblock which they are glued into.

 Installment # 38 of the "Small Shop, Big Results" series appeared in the July, 2011 issue of the Piano Technicians Journal.  July's topic: "Pinblock Panel Installation in Grand Pianos, Using Paper Patterns: Part 5."

The fifth and final segment of this series segways into a discussion about refinishing the underside of a repaired soundboard to improve the appearance when shims have been installed.

Note: This is my seventh cover photo for the Journal - showing me sanding against the grain - used without me knowing beforehand. There's a reason I was sanding incorrectly (explained in article), but it was embarrassing to see photo on the cover.


Installment # 39 of the "Small Shop, Big Results" series appeared in the August, 2011 issue of the Piano Technicians Journal.  August's topic: "Repairing Serious Damage: Part 1."

Part one of this series shows a simple procedure for replacing a small damage area of a case part with solid wood for a nearly invisible repair.


Installment # 40 of the "Small Shop, Big Results" series appeared in the September, 2011 issue of the Piano Technicians Journal.  September's topic: "Repairing Serious Damage: Part 2."

Part two of this series tackles the method for dealing with a large gouge in the side of the case of a piano, involving routering out the damaged area down to good wood in preparation for installation of new hardwood with a veneer overlay.


Installment # 41 of the "Small Shop, Big Results" series appeared in the October, 2011 issue of the Piano Technicians Journal.  October's topic: "Repairing Serious Damage: Part 3."

Part three of this series wraps up the procedure for repairing a large gouge in the case of a piano to end up with a nearly invisible repair.    


Installment # 42 of the "Small Shop, Big Results" series appeared in the November, 2011 issue of the Piano Technicians Journal.  November's topic: "Grand Action Reconstruction: Part 1."

The first part of this series describes an action which seemed beyond repair, leading me to consider replacement parts from WNG.   


Installment # 43 of the "Small Shop, Big Results" series appeared in the December, 2011 issue of the Piano Technicians Journal.  December's topic: "Grand Action Reconstruction: Part 2 - Installation of Repetitions."

Part two of this series describes the process of selecting replacement parts from WNG and the beginning of the installation parts once they arrive.  


Installment # 44 of the "Small Shop, Big Results" series appeared in the January, 2012 issue of the Piano Technicians Journal.  January's topic: "Grand Action Reconstruction: Part 3 - Placement of Heels."

The third part of this series tackles the challenge of building a new action from the ground up, using only the old rails and brackets as a scaffolding for the replacement parts.  


Installment # 45 of the "Small Shop, Big Results" series appeared in the March, 2012 issue of the Piano Technicians Journal.  March's topic: "Grand Action Reconstruction: Part 4 - Installation of Risers." 

The fourth part of this series describes the process of installing risers to the back of the keysticks to make up for the difference in dimensions once the old rocker / sticker assemblies were removed.


Installment # 46 of the "Small Shop, Big Results" series appeared in the April, 2012 issue of the Piano Technicians Journal.  April's topic: "Grand Action Reconstruction: Part 5 - Installation of Key Capstans and Backchecks."

The fifth part of this series completes the description of installing the new risers, then moves on to the drilling for and installing of the new WNG capstans. The new backchecks were also installed, bringing the work on the keysticks to a conclusion.


Installment # 47 of the "Small Shop, Big Results" series appeared in the May, 2012 issue of the Piano Technicians Journal.  May's topic: "Grand Action Reconstruction: Part 6 - Installation of Hammer Shanks and Knuckles."

The sixth part of this series begins with a description of installing hammer shanks, but ends with a major snafu which leaves me in a state of uncertainty.


Installment # 48 of the "Small Shop, Big Results" series appeared in the June, 2012 issue of the Piano Technicians Journal.  June's topic: "Grand Action Reconstruction: Part 7 - Realignment of Letoff Capstans."

The seventh part of this series describes the process of removing and reinstalling the posts for the letoff capstans to solve an alignment problem that I hadn't seen coming.       


Installment # 49 of the "Small Shop, Big Results" series appeared in the July, 2012 issue of the Piano Technicians Journal.  July's topic: "Grand Action Reconstruction: Part 8 - Replacement of Letoff Capstans."

The eighth part of this series explains the problems involved with keeping the old letoff capstans and the reason the decision was made to replace with new.  


Installment # 50 of the "Small Shop, Big Results" series appeared in the September, 2012 issue of the Piano Technicians Journal.  September's topic: "Grand Action Reconstruction: Part 9 - Hammer Head Installation."

The ninth part of this series describes my no-frills approach to installing new hammers on new hammer shanks of a rebuilt grand action.     


Installment # 51 of the "Small Shop, Big Results" series appeared in the October, 2012 issue of the Piano Technicians Journal.  October's topic: "Grand Action Reconstruction: Part 10 - Rebuilding the Damper Underlever System."

The final part of this series outlines my first attempt at rebuilding a back action - a real learning experience (for me, at least!) 


Installment # 52 of the "Small Shop, Big Results" series appeared in the November, 2012 issue of the Piano Technicians Journal.  November's topic: "Take Great Shop Photos: Rule 1."

Part one of this series explains the  one rule to remember when it comes to taking shop photos, and it has nothing to do with the word, "Smile!"


Installment # 53 of the "Small Shop, Big Results" series appeared in the December, 2012 issue of the Piano Technicians Journal.  December's topic: "Take Great Shop Photos: Close-Ups."

Part two of this series goes into detail as to the techniques for getting good close-ups for shop write-ups.


 Installment # 54 of the "Small Shop, Big Results" series appeared in the January, 2013 issue of the Piano Technicians Journal.  January's topic: "Take Great Shop Photos: Doing a Background Check."

Part three of this series explains easy to duplicate methods of producing a professional looking backdrop for repair parts and tools.


  Installment # 55 of the "Small Shop, Big Results" series appeared in the February, 2013 issue of the Piano Technicians Journal.  January's topic: "Take Great Shop Photos: The Cross Section"

Part four of this series gives examples of how a well done cross section can bring out important information about a technical topic.

Note: This is my eighth cover photo for the Journal, illustrating the preparation for a cross section photograph.